Next.jsのImage Generationを利用して、動的にOG画像を作成する
Table of contents
このチュートリアルでは、Next.jsの Image Generation を利用して、動的にOG画像を作成する手順を紹介します。
記事内で使用している主なソフトウェアのバージョン
- Next.js(
next): 13.3.0
前提条件
- Next.jsの13.3.0以上を利用していること
- Next.jsの API Routes について理解していること
- Vercelへのデプロイについて理解していること
- OG画像を利用するWebサイトを作成していること
概要
Next.jsの Image Generation を利用して、OG画像を生成するAPIを作成します。
ImageResponse はEdge Runtime を利用します。
リクエストのクエリパラメータにタイトルを付け、タイトルをOG画像に反映するようにします。
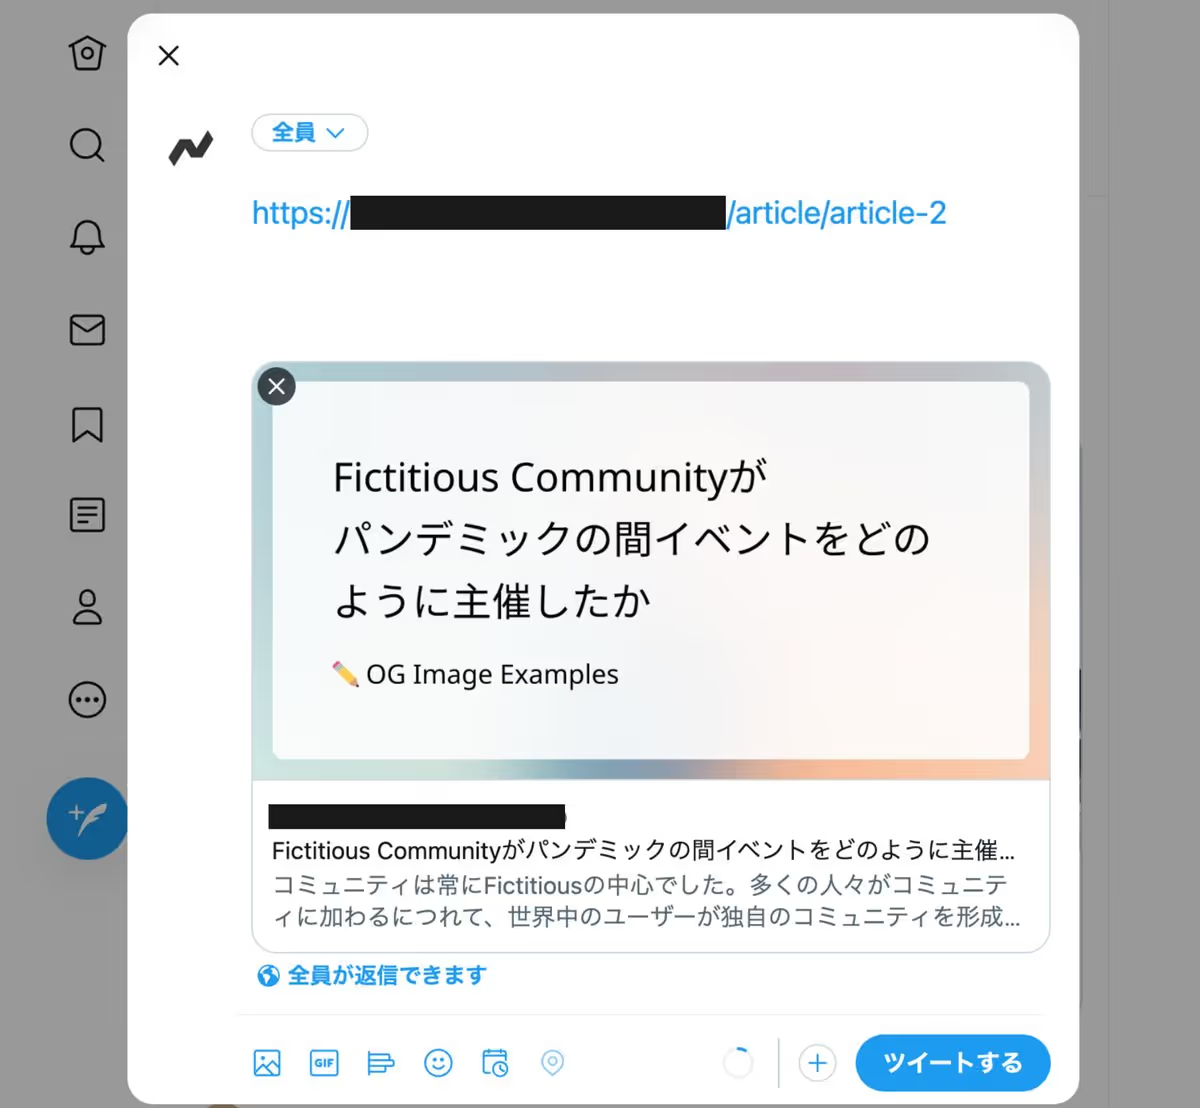
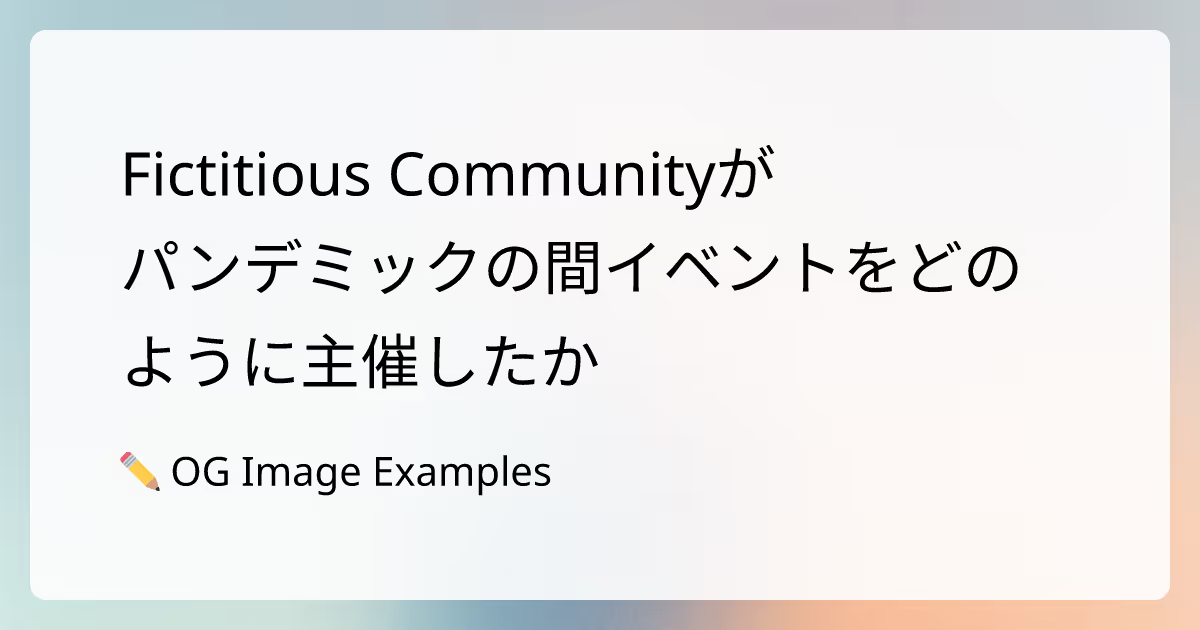
以下のようなOG画像を作成できます。
「Fictitious Communityが 〜 主催したか」の部分がタイトルとなります。
1. OG画像を生成するAPIを作成する
1-1. pages/api/og.tsx の作成
OG画像を生成するAPIにアクセスすると、画像を返却するようにします。
また、クエリパラメータに title をつけると、その値をもとにOG画像を作成できるようにします。
ここでは、エンドポイントが /api/og となるように、pages/api/og.tsx というファイルを用意します。この処理では、以下のことを行います。
- Edge Runtime を利用するために、Edge API Routes として、configの
runtimeにedgeを指定する - クエリパラメータの
titleの値を利用して、動的にタイトルを表示する - HTMLとCSSでOG画像のデザインをマークアップする
- 背景画像として、以下の画像を使う(以下のコードでは
https://og-image-example.vercel.app/bg.pngから画像が取得できる想定とします。背景画像が不要な場合は、backgroundImageのプロパティを削除して下さい)
1import { ImageResponse, NextRequest } from "next/server";
2
3export const config = {
4  runtime: "edge",
5};
6
7export default function handler(req: NextRequest) {
8  try {
9    const { searchParams } = new URL(req.url);
10
11    const hasTitle = searchParams.has("title");
12    const title = hasTitle
13      ? searchParams.get("title")?.slice(0, 100)
14      : "My default title";
15
16    return new ImageResponse(
17      (
18        <div
19          style={{
20            backgroundImage: "url(https://og-image-example.vercel.app/bg.png)",
21            backgroundColor: "#fff",
22            backgroundSize: "100% 100%",
23            height: "100%",
24            width: "100%",
25            display: "flex",
26            textAlign: "left",
27            alignItems: "flex-start",
28            justifyContent: "center",
29            flexDirection: "column",
30            flexWrap: "nowrap",
31          }}
32        >
33          <div
34            style={{
35              width: "100%",
36              fontSize: 60,
37              fontStyle: "normal",
38              fontWeight: "bold",
39              color: "#000",
40              padding: "0 120px",
41              lineHeight: 1.3,
42              marginBottom: "30px",
43              wordWrap: "break-word",
44            }}
45          >
46            {title}
47          </div>
48          <div
49            style={{
50              width: "100%",
51              fontSize: 40,
52              fontStyle: "normal",
53              fontWeight: "bold",
54              color: "#000",
55              padding: "0 120px",
56              lineHeight: 1.3,
57            }}
58          >
59            ✏️ OG Image Examples
60          </div>
61        </div>
62      ),
63      {
64        width: 1200,
65        height: 630,
66      }
67    );
68  } catch (e: any) {
69    console.log(`${e.message}`);
70    return new Response(`Failed to generate the image`, {
71      status: 500,
72    });
73  }
74}マークアップから画像への変換には、Satori というライブラリが使用されています。通常のブラウザとは対応しているCSSプロパティが異なるため注意が必要です。詳細は Satori のドキュメントをご確認ください。
1-2. ローカル環境での確認
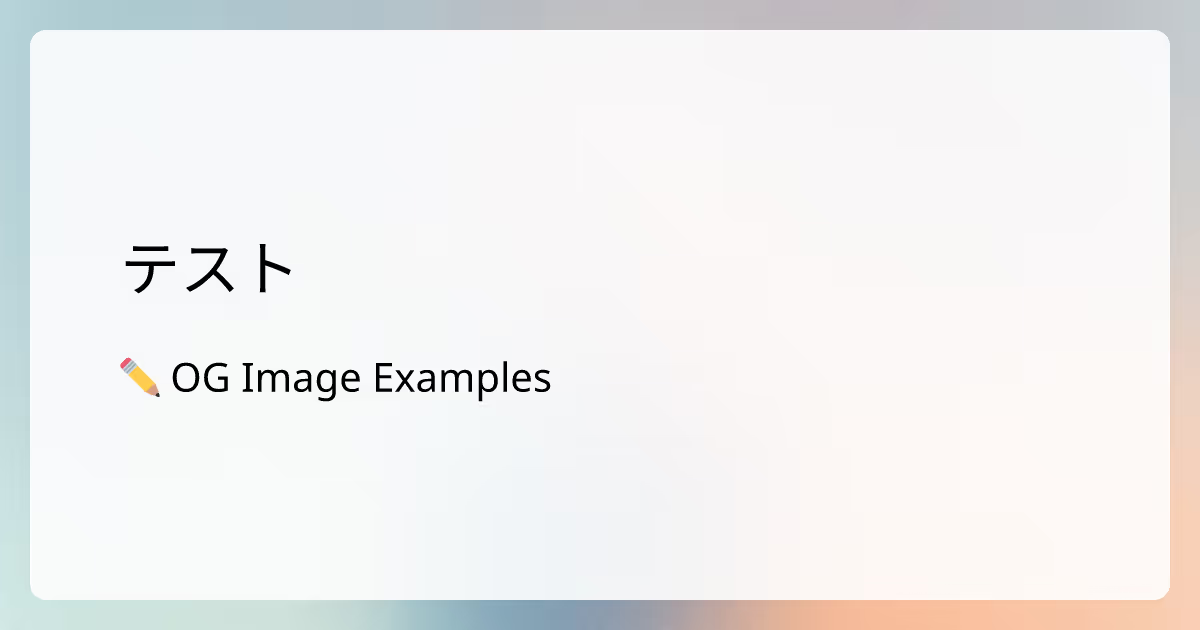
ローカル環境で正しく実行されるか、確認してみましょう。以下のURLにアクセスします。
http://localhost:3000/api/og?title=テスト以下のように表示されれば成功です。
1-3. 本番環境へのデプロイ
ローカル環境で確認できたら、Vercelにデプロイしておきます。
2. APIを呼び出し、OG画像を設定する
次に、OG画像を設定したいサイトから、1で作成したAPIを呼び出すようにします。
※以下、1-3でデプロイしたAPIのエンドポイントは https://og-image-example.vercel.app/api/og と想定します。
<meta> タグの中にOG画像のURLを設定しましょう。
1<head>
2  <title>The post's title</title>
3  <meta
4    property="og:image"
5    content="https://og-image-example.vercel.app/api/og?title=my post title"
6  />
7</head>
Newt-Inc/newt-blog-starter-nextjs から呼び出す場合、以下のようになります。
1//(省略)
2
3export default function ArticlePage({
4  app,
5  currentArticle,
6}: {
7  app: AppMeta;
8  currentArticle: (Content & Article) | null;
9}) {
10  //(省略)
11
12  const ogImage = useMemo(() => {
13    return `https://og-image-example.vercel.app/api/og?title=${currentArticle.title}`;
14  }, [currentArticle.title]);
15
16  //(省略)
17
18  return (
19    <Layout app={app}>
20      <Head>
21        <!--(省略)-->
22        <meta property="og:image" content={ogImage} />
23        <!--(省略)-->
24      </Head>
25      <!--(省略)-->
26    </Layout>
27  );
28}
コードを修正したら、デプロイを行い、本番環境に反映します。
以上で、設定は終了です。
これで、動的にOG画像を作成できるようになりました。